


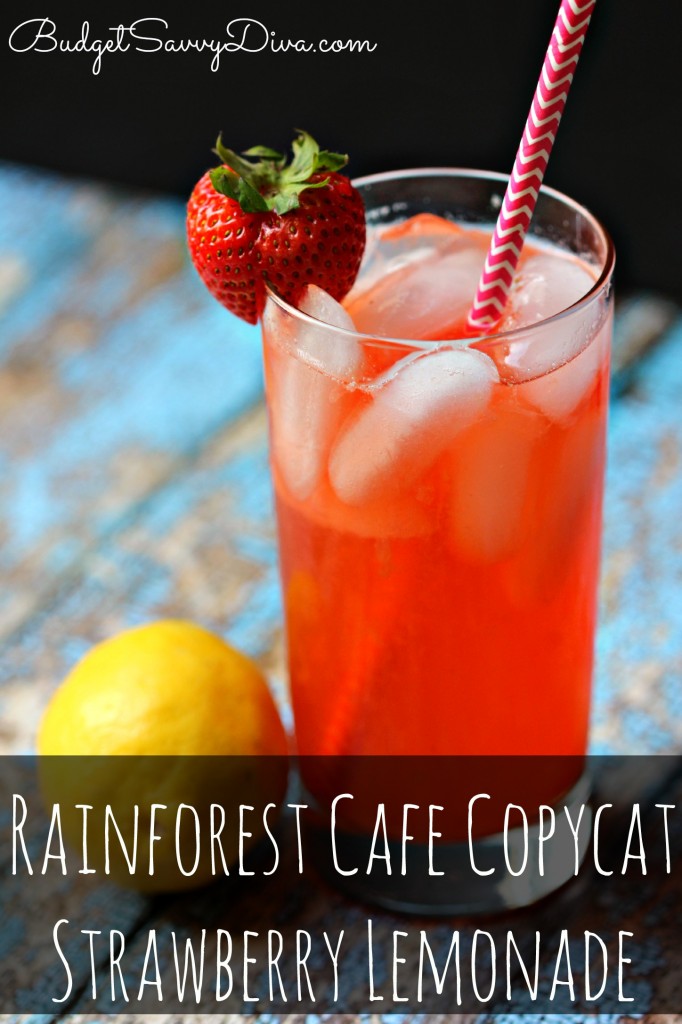
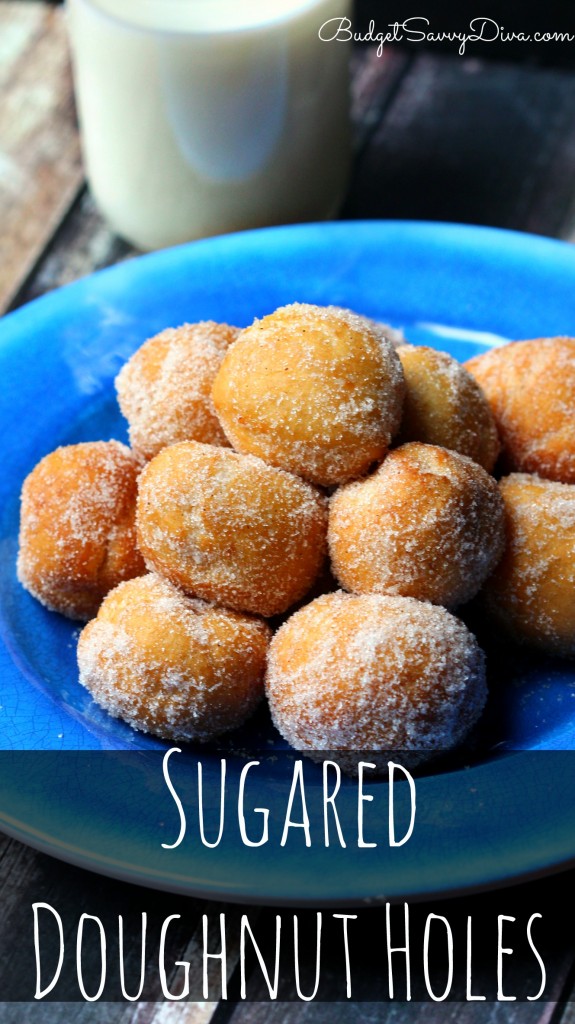
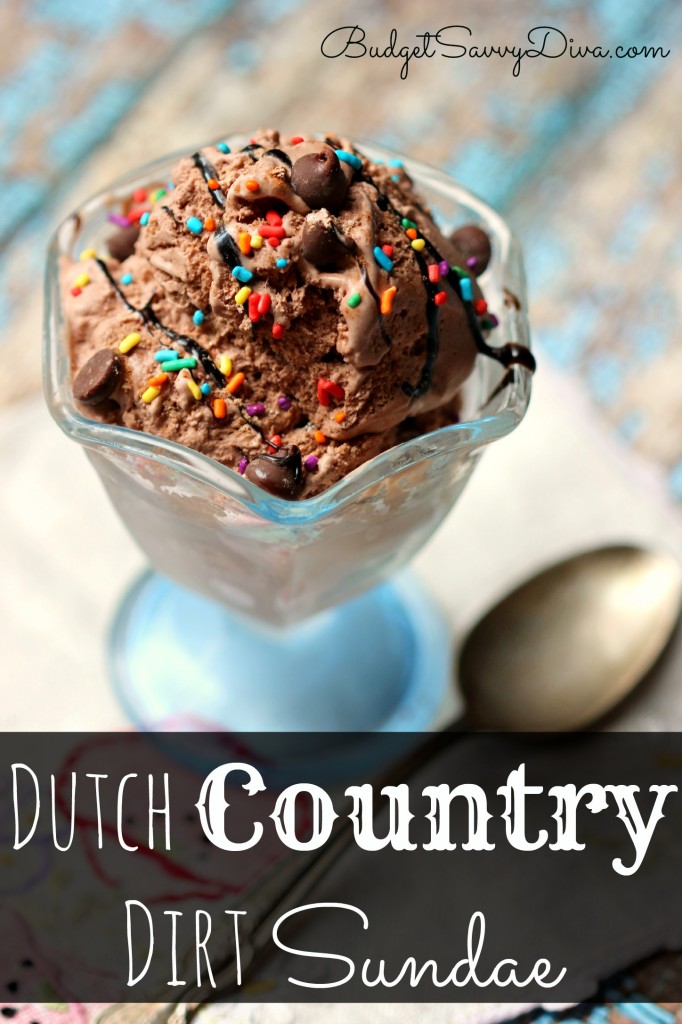
Make sure to REPIN the recipe 🙂
My family is currently OBSESSING over these squares — they kinda taste like a brownie without being too sweet – I decided to use dark chocolate chips for the topping – if you did not know I LOVE dark chocolate 🙂
I am VERY excited this is the seventh from Marie the first recipe ( Spinach and Artichoke Dip Recipe ( Recipes from Marie) )
If you have no idea who Marie is – go HERE – I found a vintage recipe box in a local antique store so I am making and posting one her recipes weekly on Tuesday
Today is Apple Cheesecake
I really hope you check back weekly for another recipe from Marie — pretty please comment ( let’s make this like a little community)
You will be able to tell which recipes are hers by the flower on the picture above 🙂


So some of the ingredients in the picture I did not use – I was going to try and make my own pie crust …. which did not work out. I ended up using a gluten free crust.

Do you like the photo above? My dad took it 🙂 Looks like I got my photography talent from him 🙂

If you do make the Apple Cheesecake Recipe please make sure to comment and let us know what you thought – I am sure you will love it
Love You Guys!
- 2 Granny Smith Apple – thinly sliced
- 8 oz of light cream cheese – room temperature
- 3/4 Cup of Sugar
- grated lemon peel
- 1 Tablespoon lemon juice
- 2 Eggs
- Beat – cream cheese, sugar, lemon juice and peel, and eggs until smooth.
- Place apples on the bottom of a pie shell – you can use graham cracker shell – I used a gluten free shell crust
- Pour over apples
- Bake 350 until cheese is set and slightly browned around the edge.
- – 45 minutes
- Allow the cheesecake to cool for 1 hour
- Enjoy


 Answer the call of nature! This adorable animal stand is the perfect spot to rest your phone. Gild it with a monogram, note or a fun design—the possibilities are endless.
